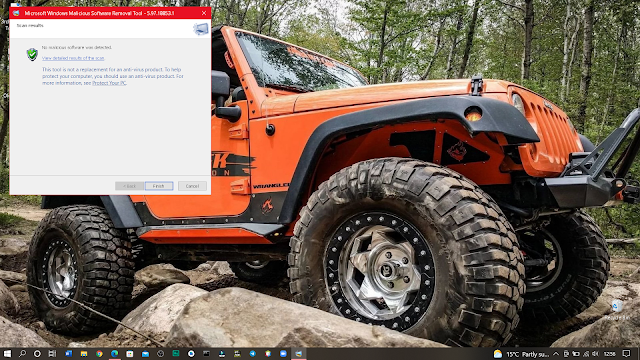
There are some steps that is been mentioned below :
[1] First you need to open you Laptop/Desktop
[2] Now , search for "Run" in search icon or you can simply click "WIN+R" button in windows 10
[3] Now , type "mrt" in textfield given here , here "mrt" means malicious removal tool.
[4] Now , click OK and then you will see the dialogue box popping asking for your permission , please grant your permission and click on YES and wait for few seconds. Now you will see this type of dialogue box appearing in your winow
[5] Simply click the "Next" button an wait for further process , after you will see three types of scans
[a] Quick Scan
[b] Full Scan
[c] Customize Scan
If you select the name "Quick Scan" then the computer will scan your all files quickly and this scan hardly takes 2-3 min (Depend on your configuration of system)
If you select the name "Full Scan" then the computer will scan your full system and this scan take several hours to complete
If you select the "Customize Scan" then you can able to choose the specific folder and drive to scan
[6] Select any one from the above types and click next and you can see the bar changing from "0-100" %
like this.
[7] Let it complete and then it will show you that its finished and now you can exit from there .
That's , how you can detect the malicious data and remove .


